Power station for my work desk
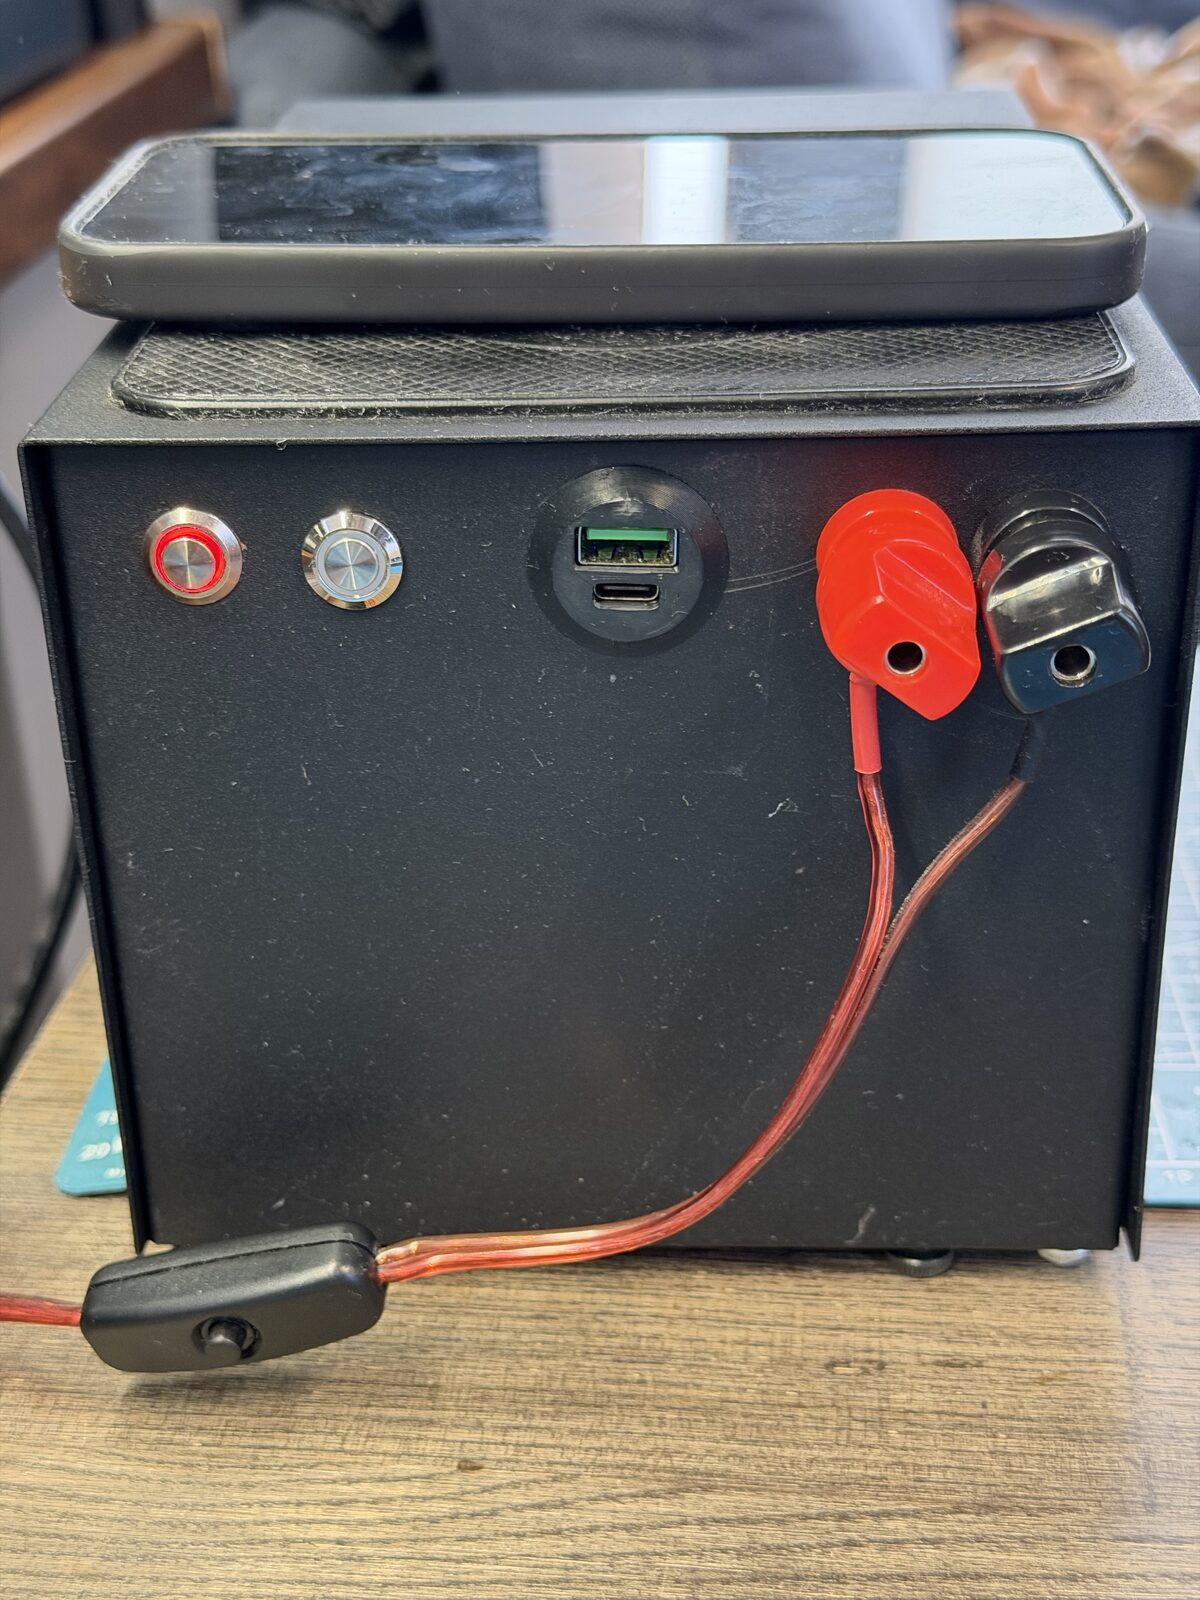
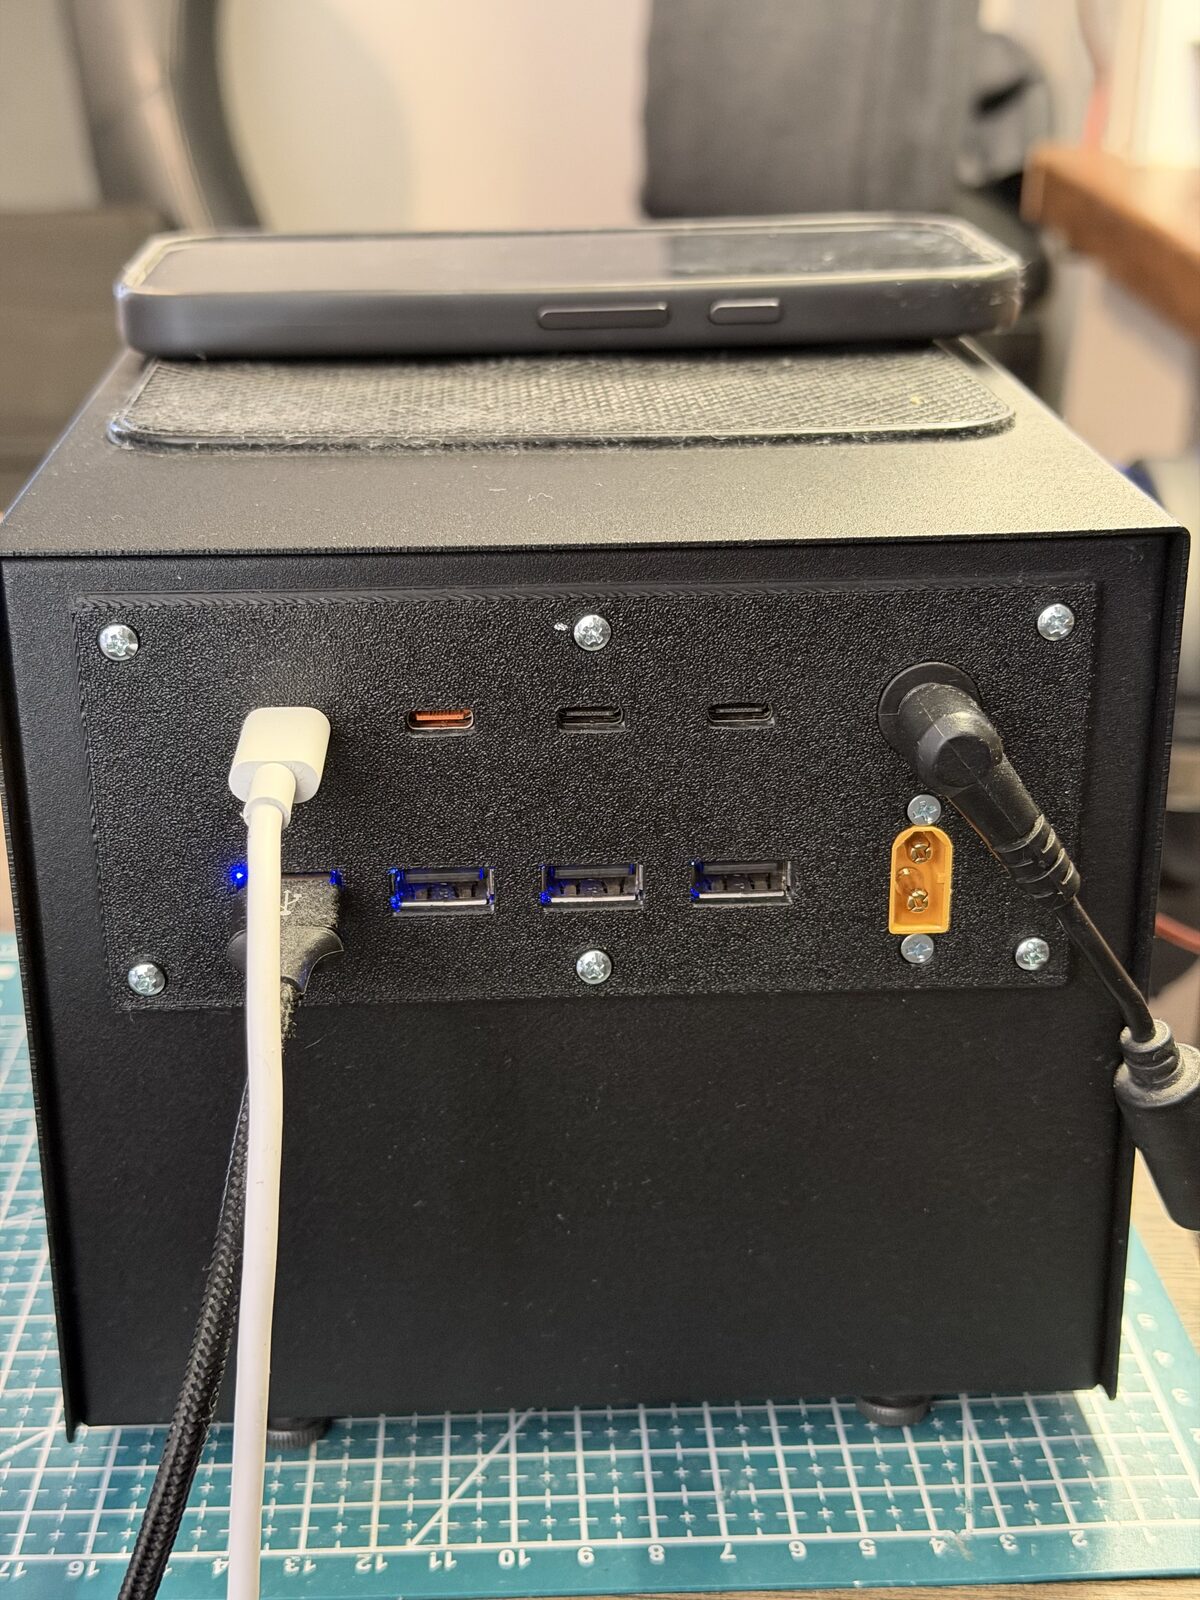
My desk used to have a separate charger for everything: laptop, phone, tablet, LED strip, clock, etc. I replaced them with one box: a 4S LiFePO4 battery with USB-C/USB-A outputs and a wireless charger on top. It also works as a UPS: when mains power goes out, everything keeps running from the battery, and the whole battery capacity is usable.
How it works
    flowchart TB
  PSU["Laptop charger<br/>20 V 3.25 A"] --> UPS["UPS 1228-12<br/>charge 5 A / 14.2 V<br/>output 20 V"]
  subgraph BAT["Battery"]
    PACK["4S EVE LF22K<br/>12.8 V 22 Ah ≈ 282 Wh"] <--> BMS["JK BMS"]
  end
  BAT <--> UPS
  UPS -- 20 V --> USBA["USB-A 4-port module"]
  UPS -- 20 V --> USBC["USB-C PD 65 W modules"]
  UPS -- 20 V --> QC["QC Type-C/USB-A module"]
  UPS -- 20 V --> QI["Wireless charger 15 W"]
  BAT --> RAW["XT60, banana jacks"]
  BMS -- GPS port --> BUCK["MP1584 buck"] --> ESP["ESP32"]
  BMS -- "GPS port (UART)" --> ESP
  ESP -. Wi-Fi .-> HA["Home Assistant"]
- UPS module is the heart of the build. It charges the battery (5 A, up to 14.2 V, i.e. 3.55 V per cell) and switches the load between the charger and the battery. Its output is set to 20 V, which feeds all USB modules and the wireless charger.
- Charger is an old 20 V 3.25 A (65 W) laptop charger, plugged into the DC barrel jack on the back. It doesn’t really matter which one, as the UPS module handles charging. 65 W is a compromise, I just used what I had: when the charger is plugged in, power goes to the load first and the rest goes to charging. I don’t have a constant 65 W load, so the battery still charges.
- BMS protects the cells and balances them. A button on the case turns it on and off.
- XT60 and banana jacks are connected directly to the battery. The banana jacks power the LED light of my desk (on a cable with an inline switch).
- ESP32 reads the BMS over its GPS port and sends data to Home Assistant. The same port powers it through an MP1584 buck converter.
Parts
| Part | Details |
|---|---|
| Battery | 4× EVE LF22K 22 Ah, B-grade, in series (4S) |
| BMS | JK BMS BD4A8S4P |
| UPS / charger board | UPS 1228-12 |
| USB-A | 4-way PD 65 W Type-C/USB-A module |
| USB-C | D65W fast charging module |
| QC module | QC4.0/QC3.0 USB Type-C |
| Wireless charger | 15 W wireless charger transmitter module |
| Monitoring | ESP32 + Mini MP1584EN DC-DC buck converter |
| Enclosure | MiBox MB-43, plus my own 3D-printed battery frame and back panel |
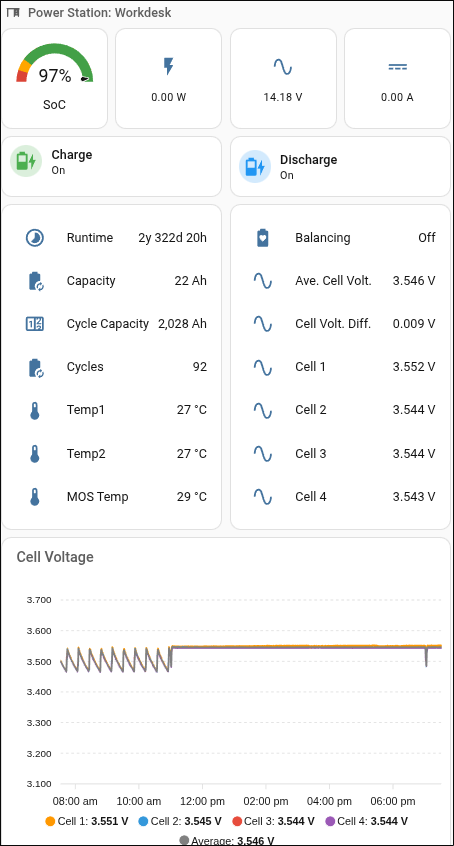
The cells are B-grade, which is why they are cheap. So far they behave well: after 92 cycles the cells are within 9 mV of each other (see Monitoring).
EVE LF22K specifications
| Parameter | Value |
|---|---|
| Chemistry | LiFePO4 |
| Nominal voltage | 3.2 V |
| Capacity | 22 Ah |
| Standard charge / discharge | 22 A (1C) |
| Max charge / discharge | 66 A (3C) |
| Voltage limits (min / max) | 2.5 V / 3.7 V |
| Terminal type | M8 |
| Dimensions (H × W × T) | 131.8 × 148.2 × 17.7 mm |
| Weight | 628 g |
The pack is 4 cells in series: 12.8 V nominal, 22 Ah, about 282 Wh.
Monitoring
The ESP32 runs ESPHome with syssi/esphome-jk-bms, connected to the GPS port of the BMS (UART-TTL):
substitutions:
  name: power-station-workdesk
  device_description: "Monitor a JK-BMS using the GPS port (UART-TTL)"
  external_components_source: github://syssi/esphome-jk-bms@main
  tx_pin: GPIO16
  rx_pin: GPIO17
The rest of the config is the example from the repository. In Home Assistant I get state of charge, power, cell voltages, temperatures and cycles:
History
2023: first build
The BMS was first powered in November 2023. Since then the pack has done 92 cycles, about 2,000 Ah in total.
2024: initial version
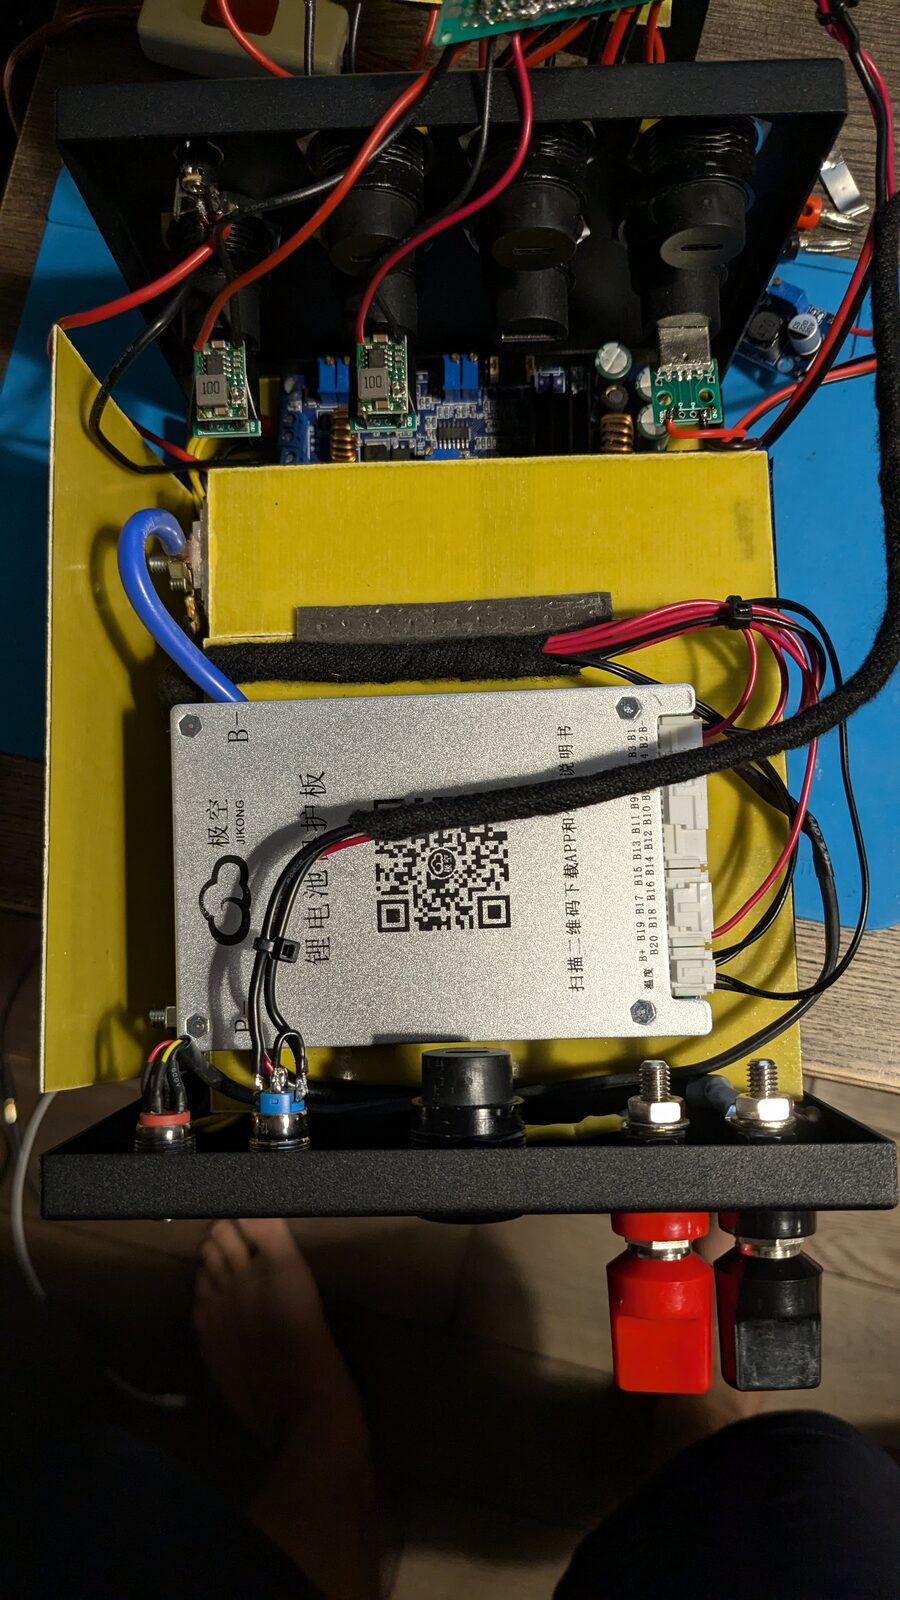
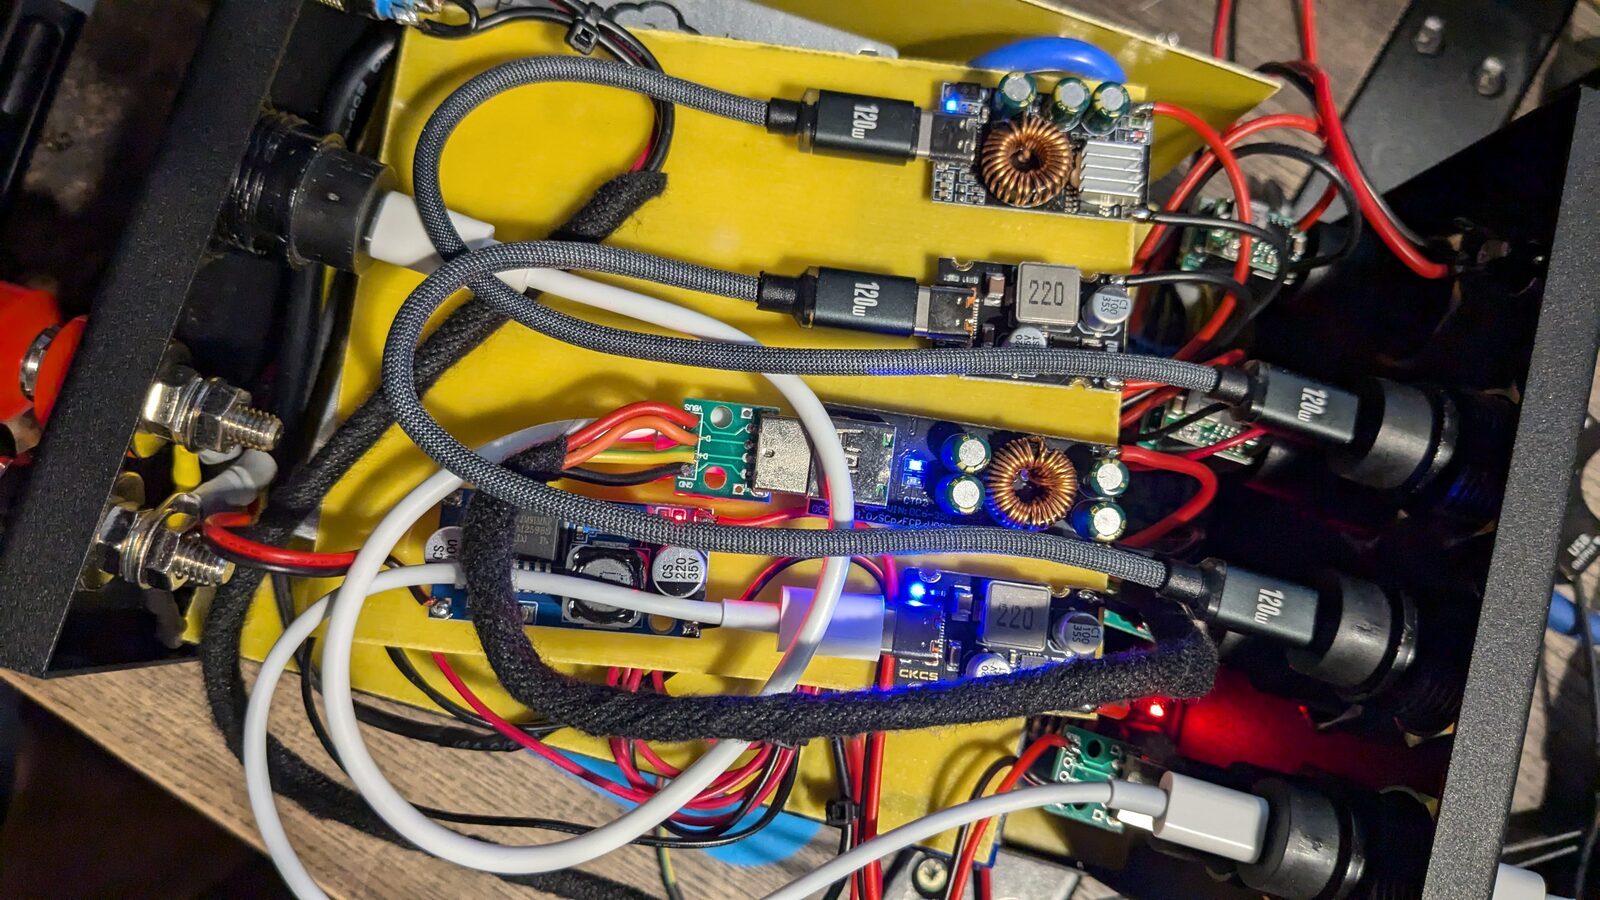
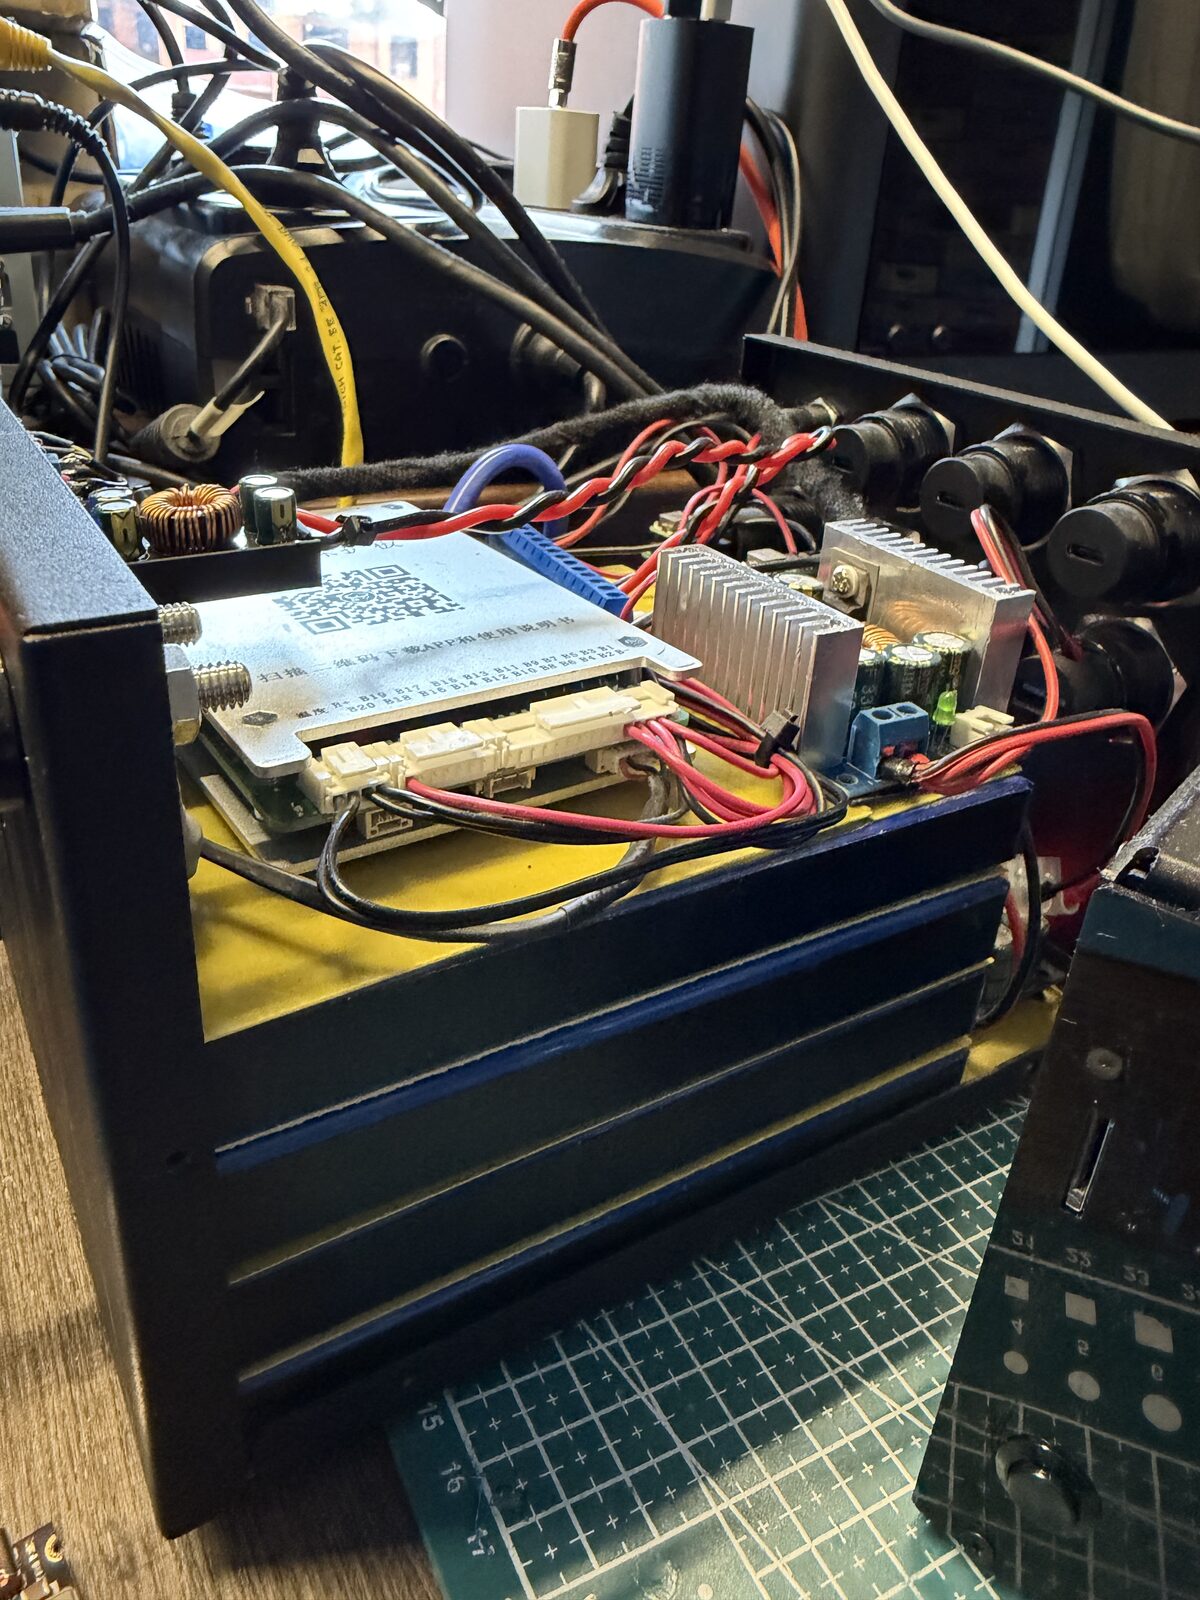
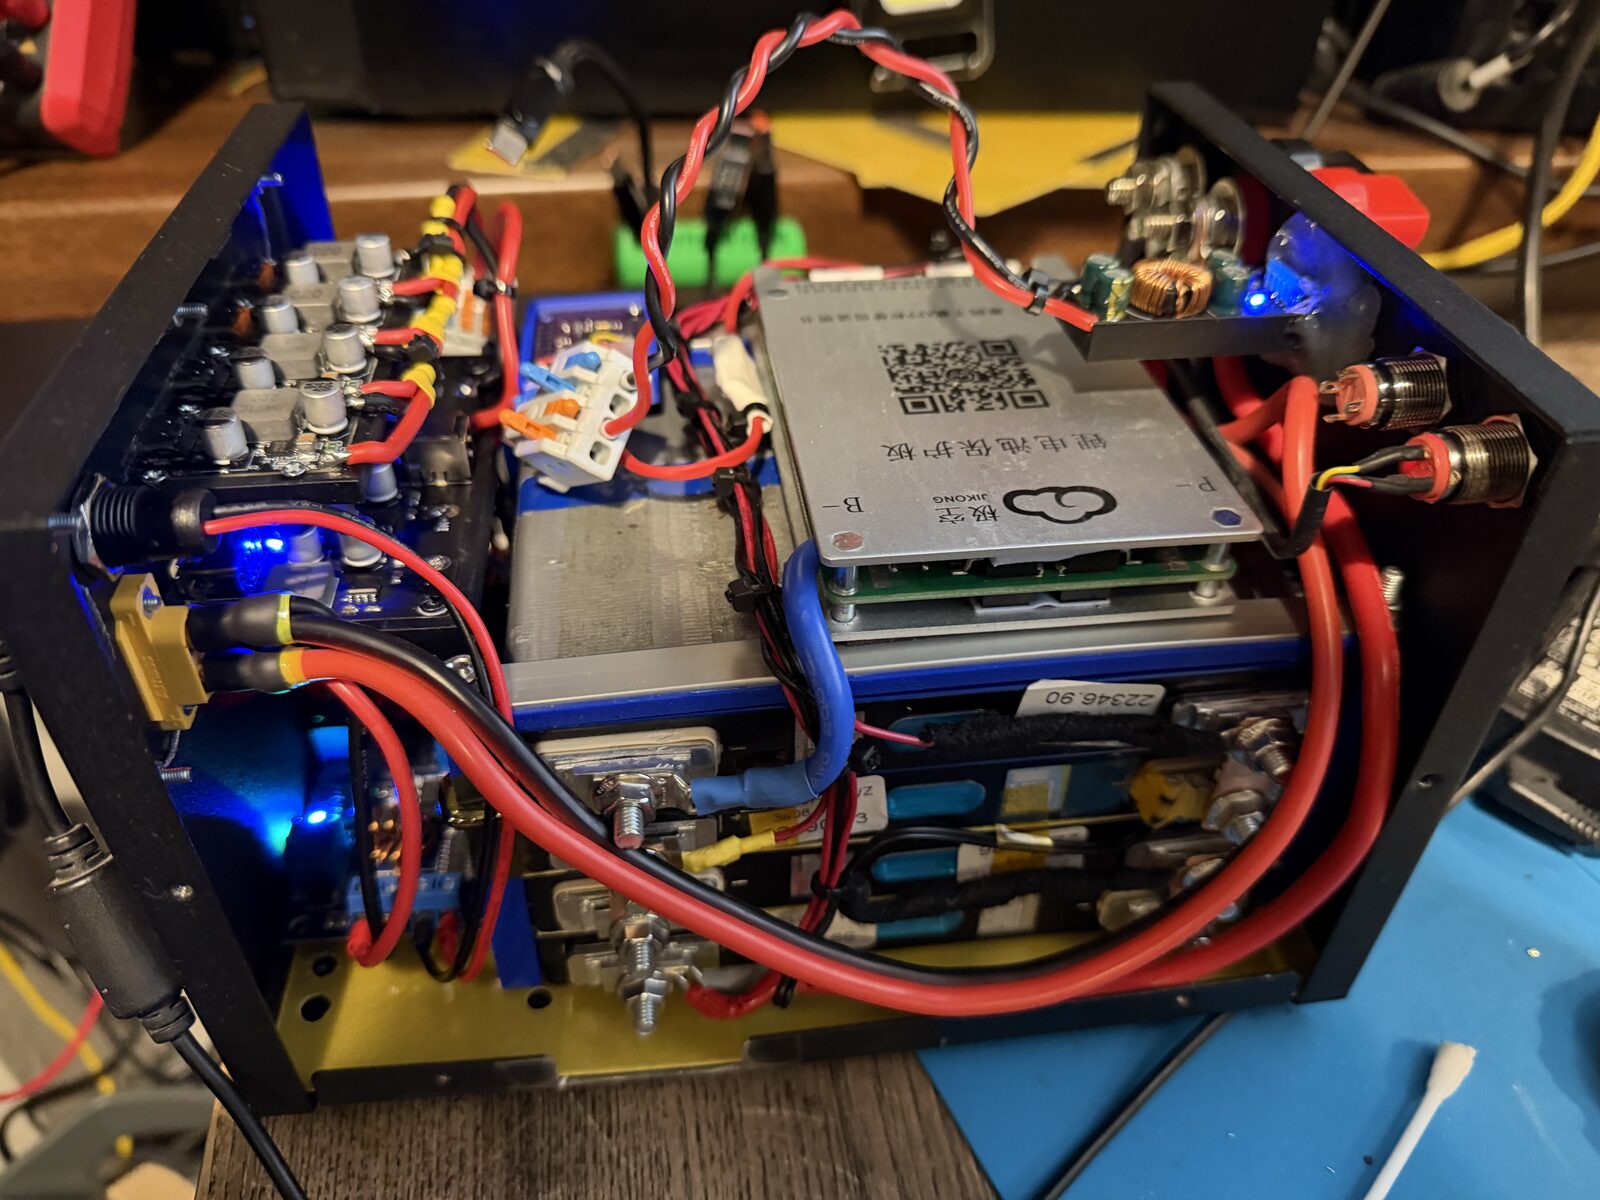
The BMS, buck converters and banana jacks were all mounted on top of the battery.
Before the PD modules, the USB ports were powered by Mini MP1584EN buck converters and mounted in metal round socket modules. A relay switched the whole load on and off with a single illuminated button. The button is still on the front, but it’s not connected anymore.
March 2026: rebuild
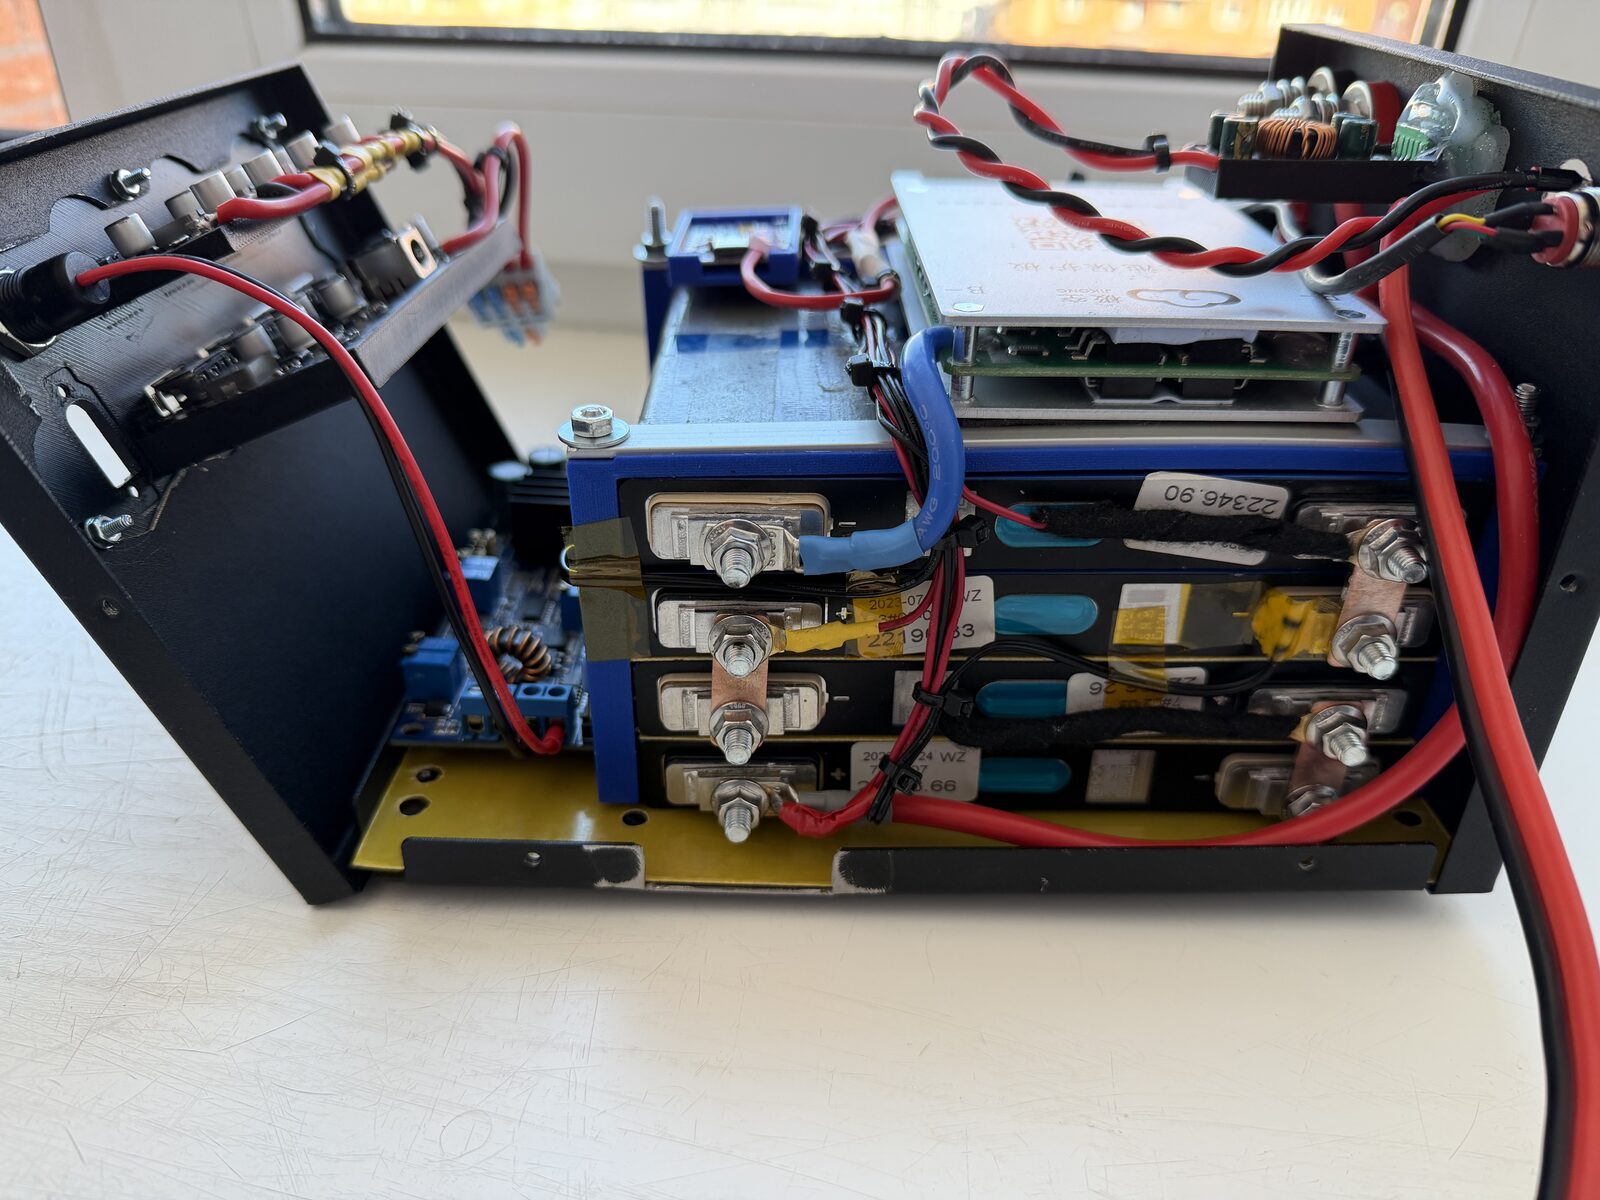
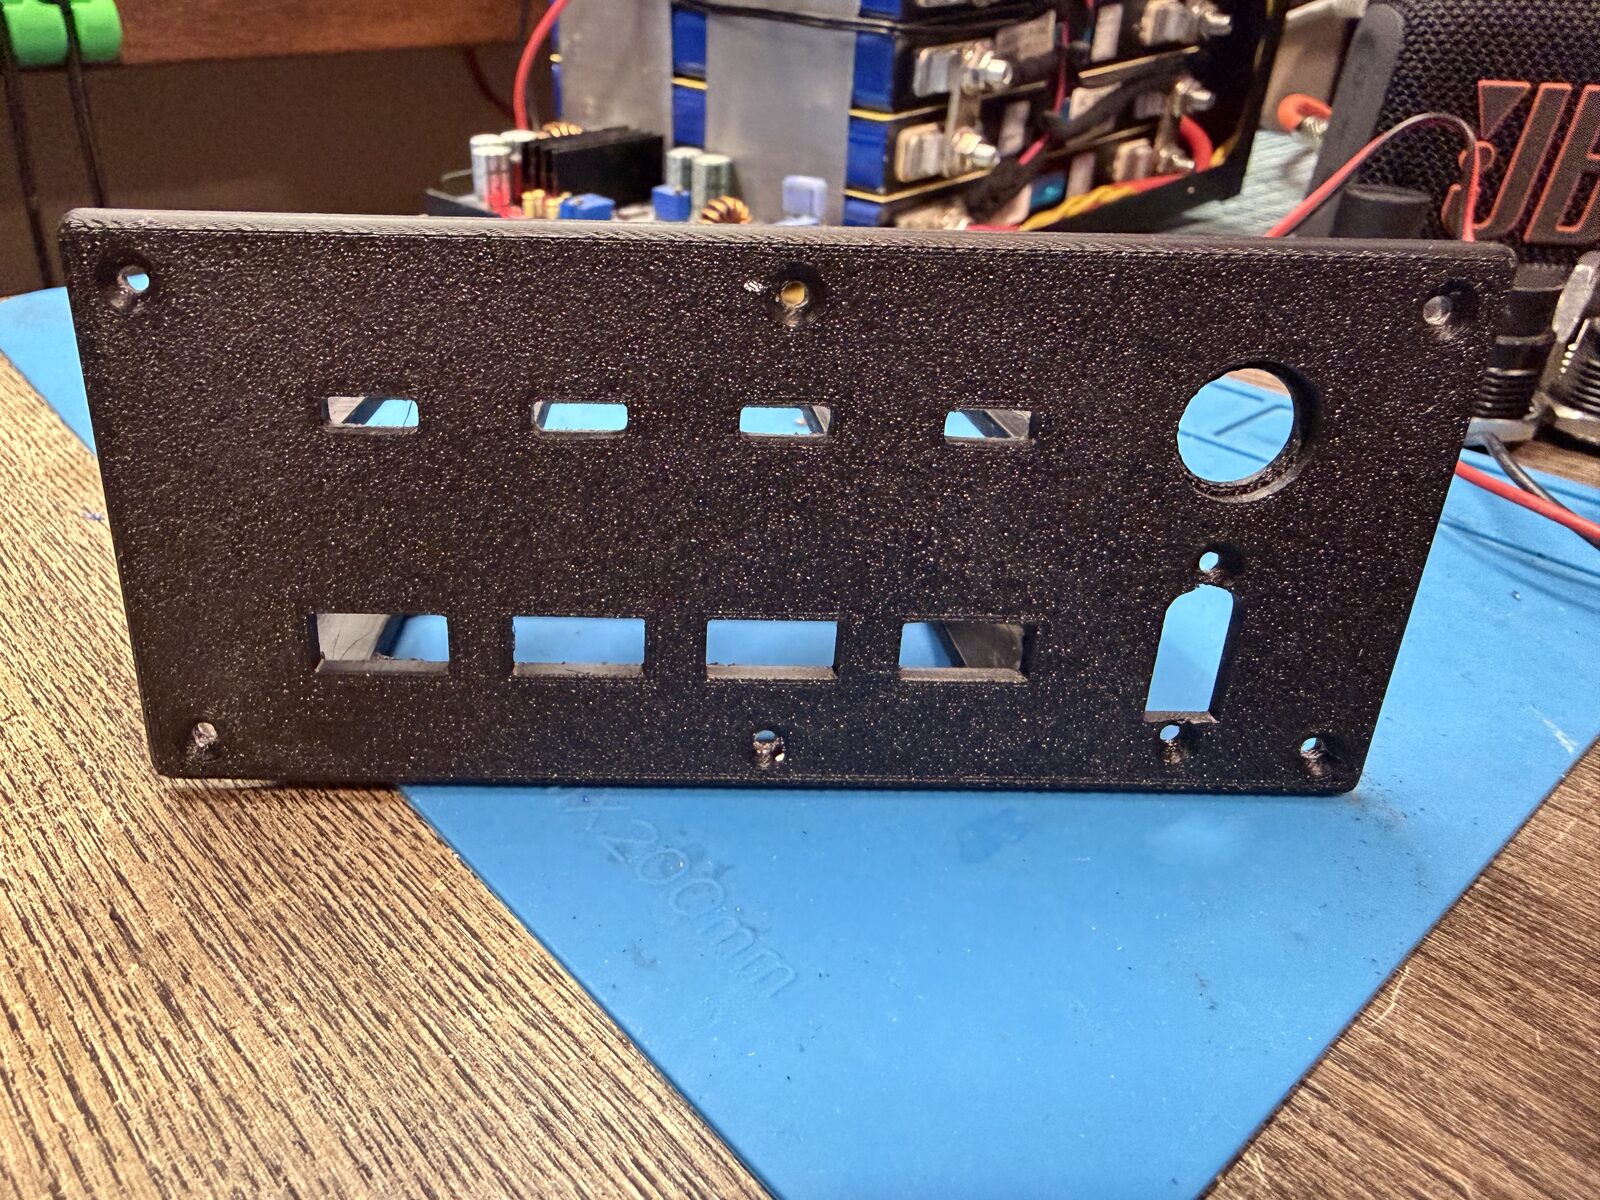
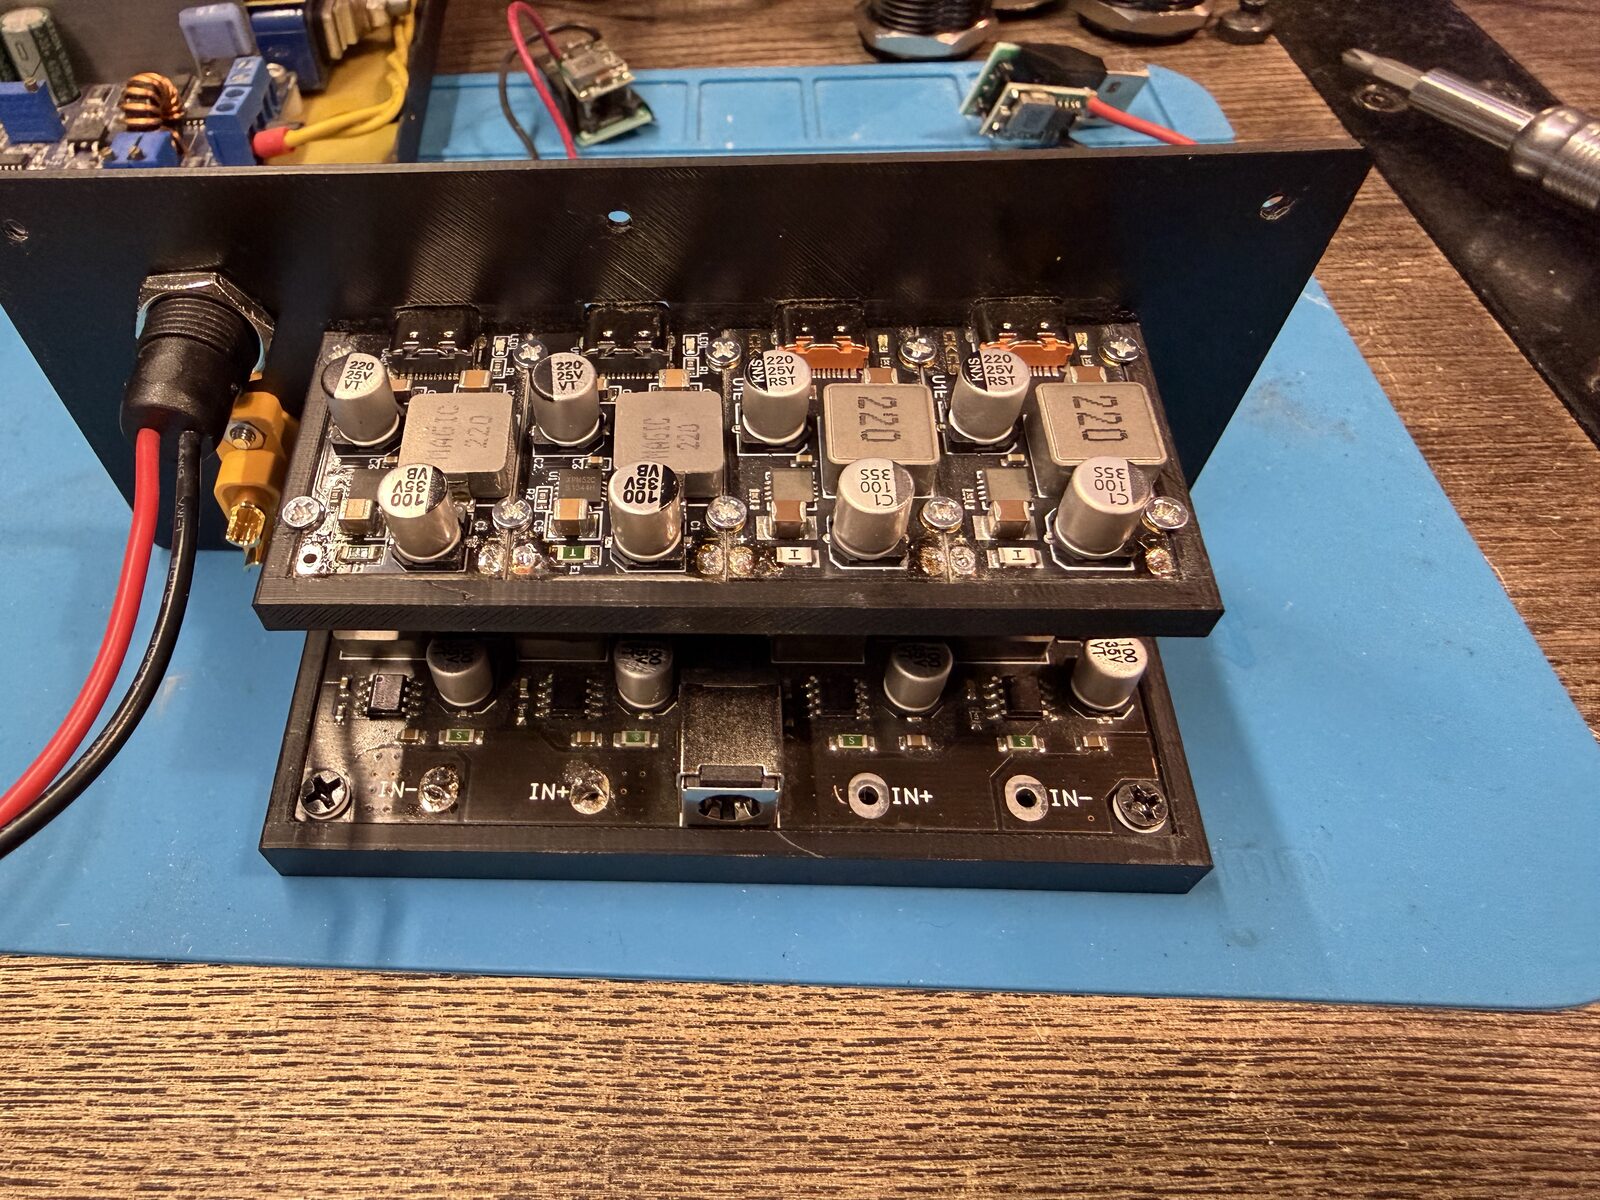
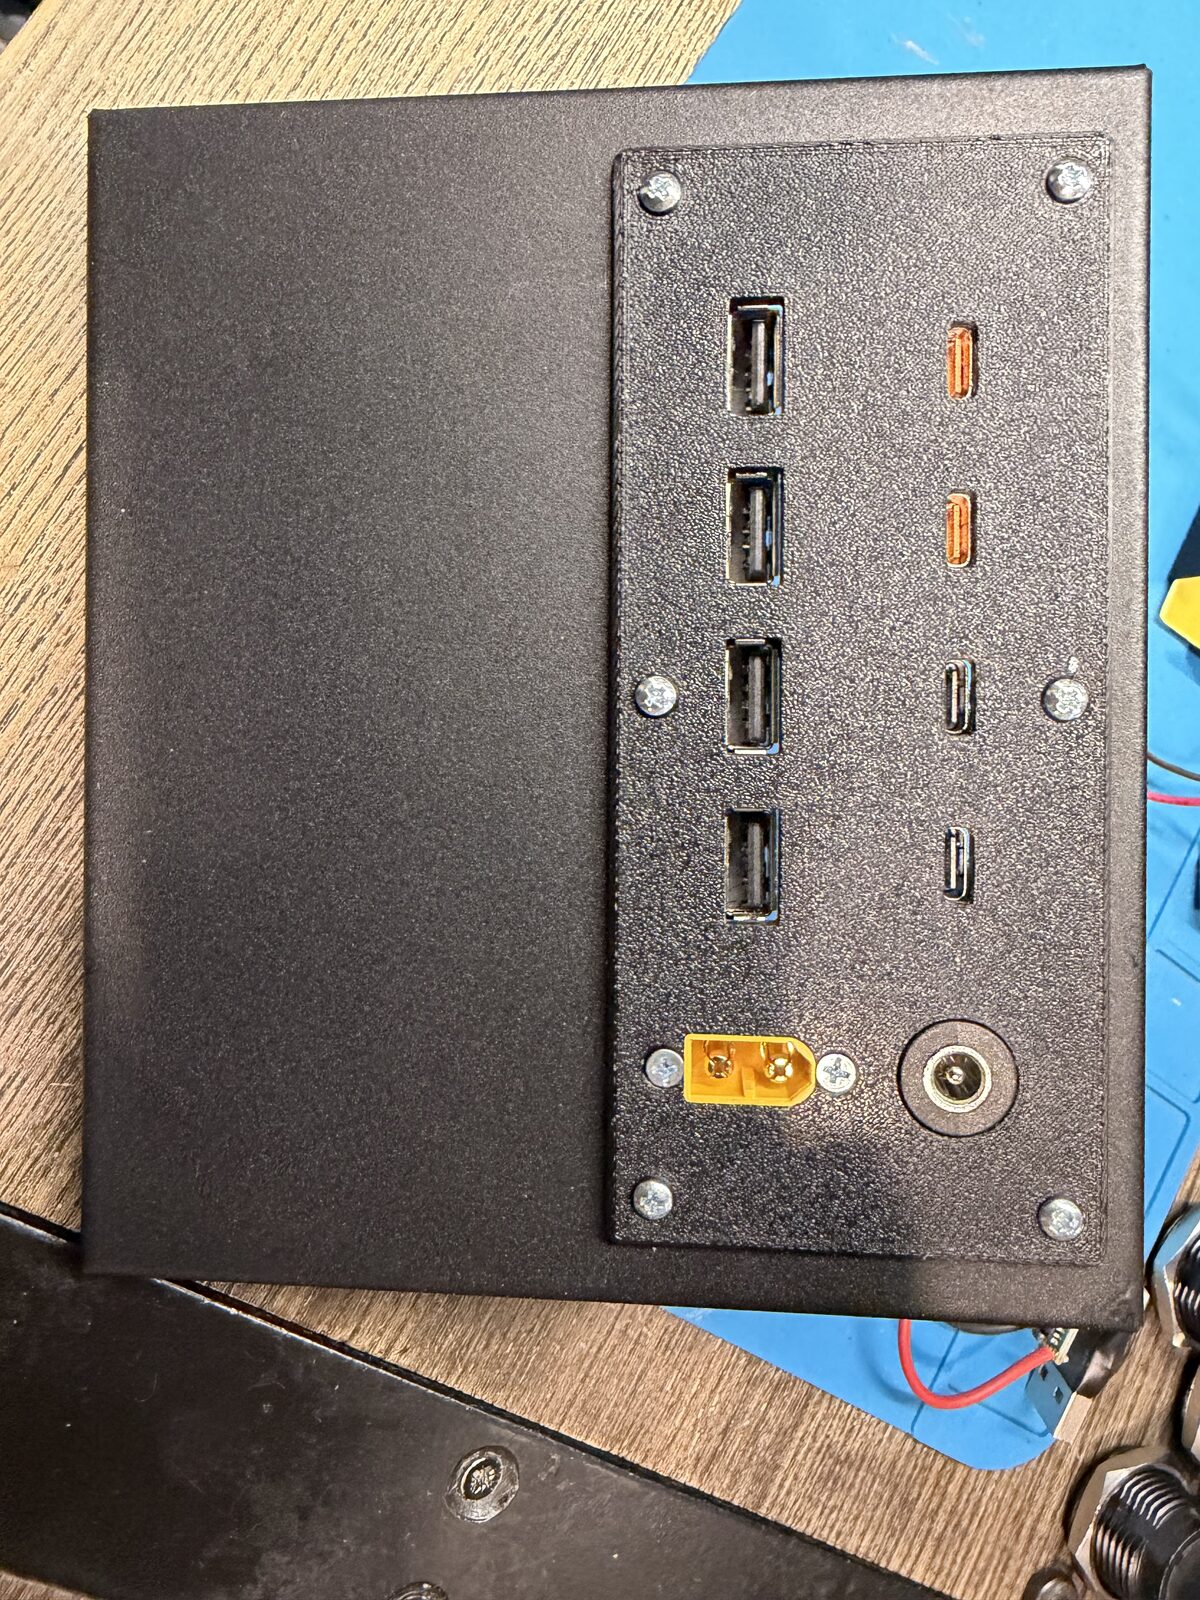
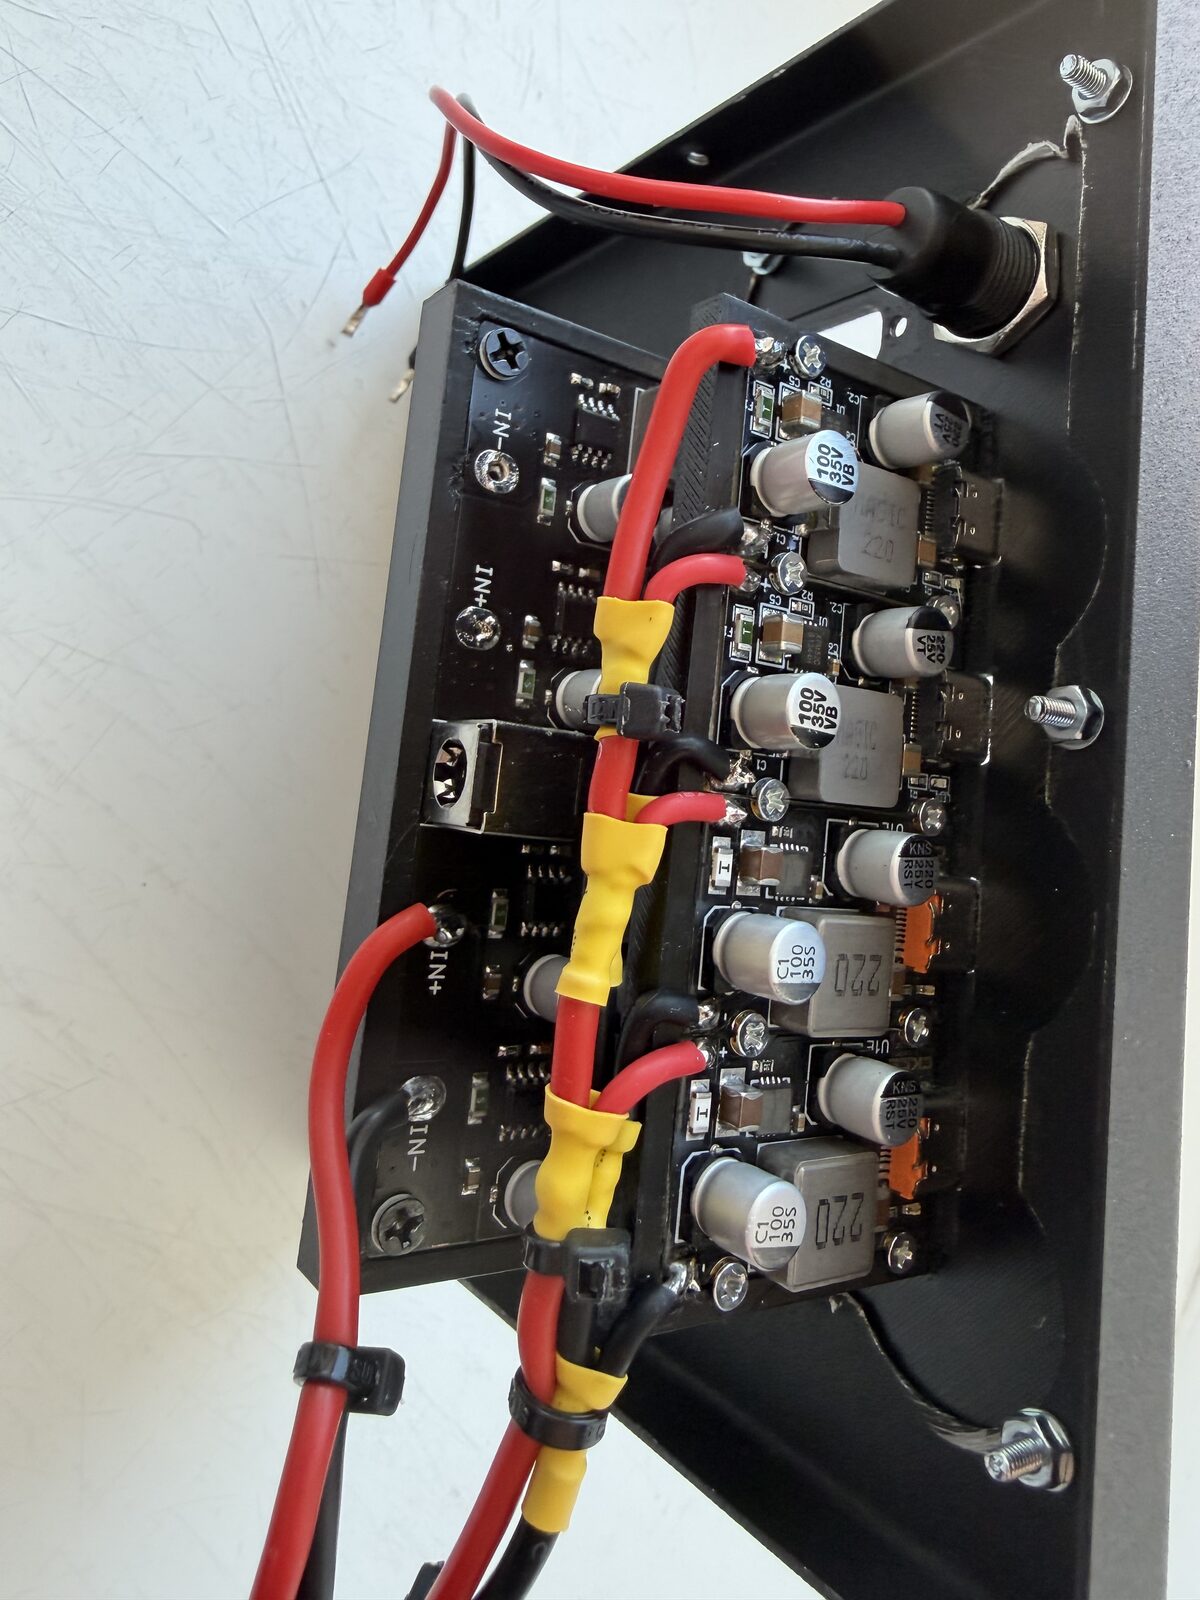
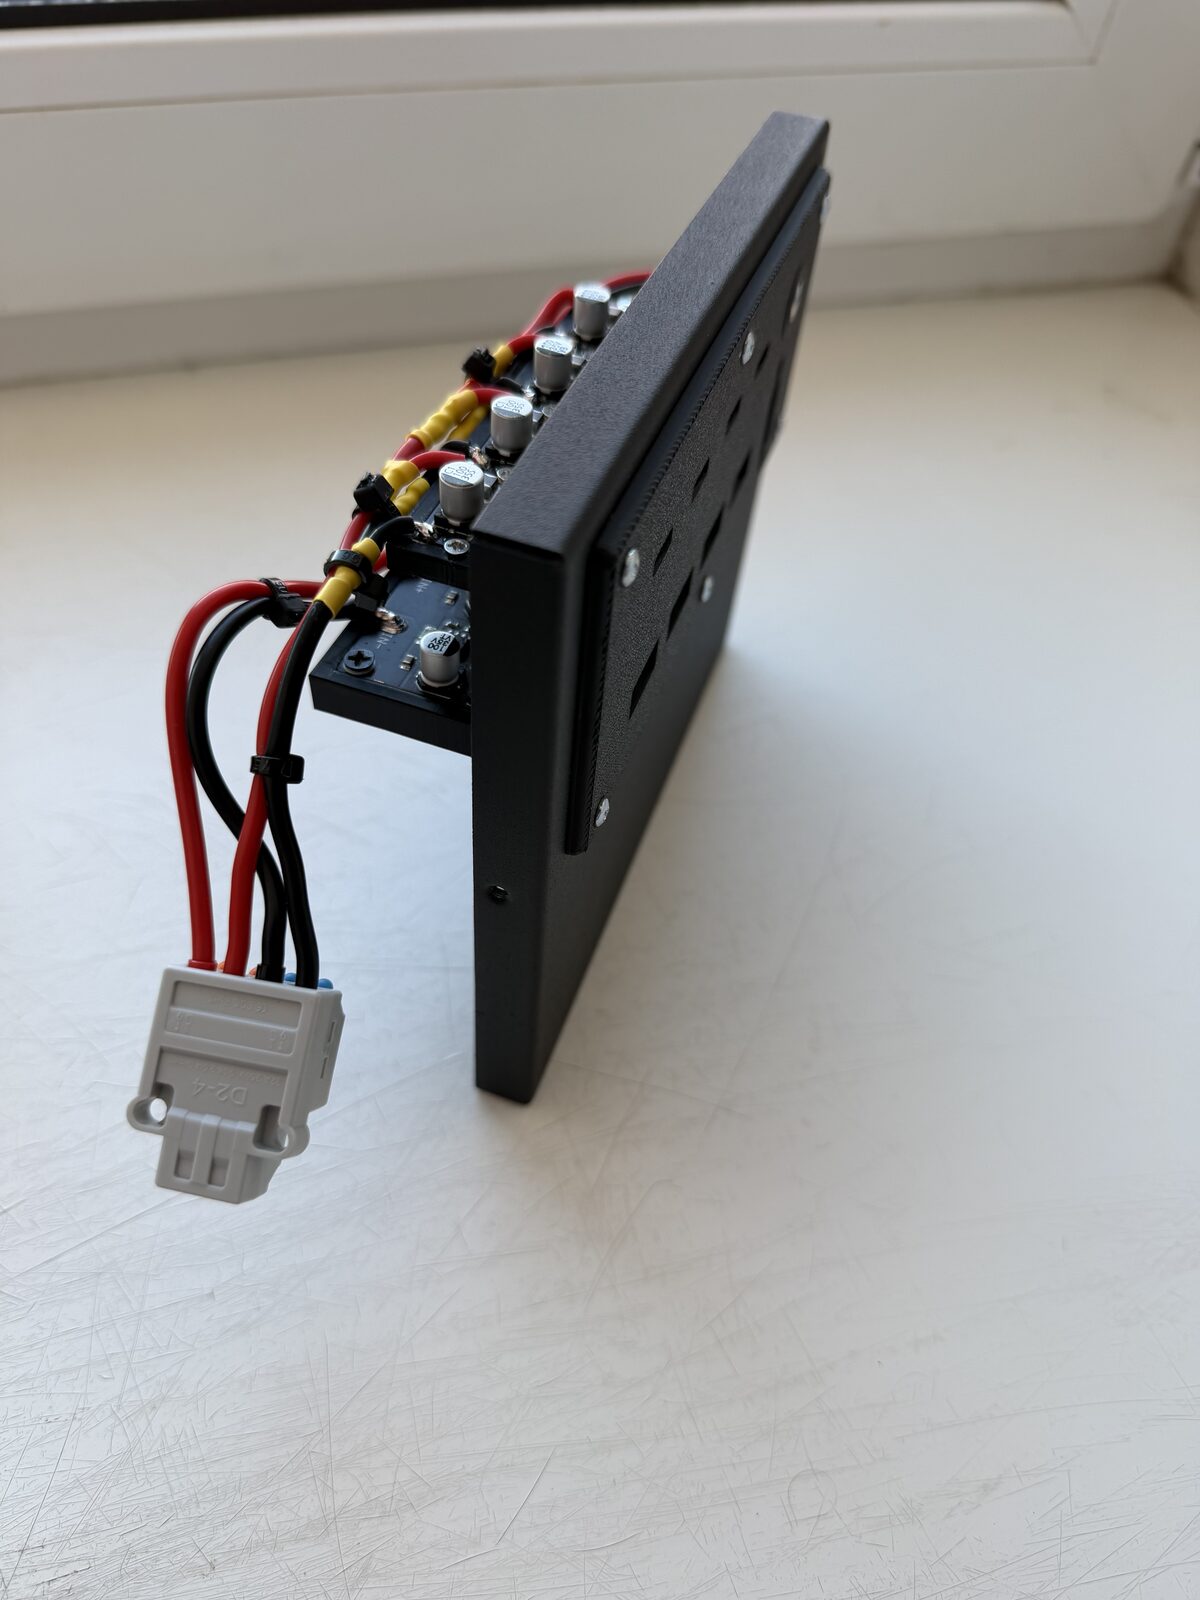
I rebuilt it around the USB PD modules: my own 3D-printed back panel with USB-C, USB-A, XT60 and the charger input, and a 3D-printed battery frame.
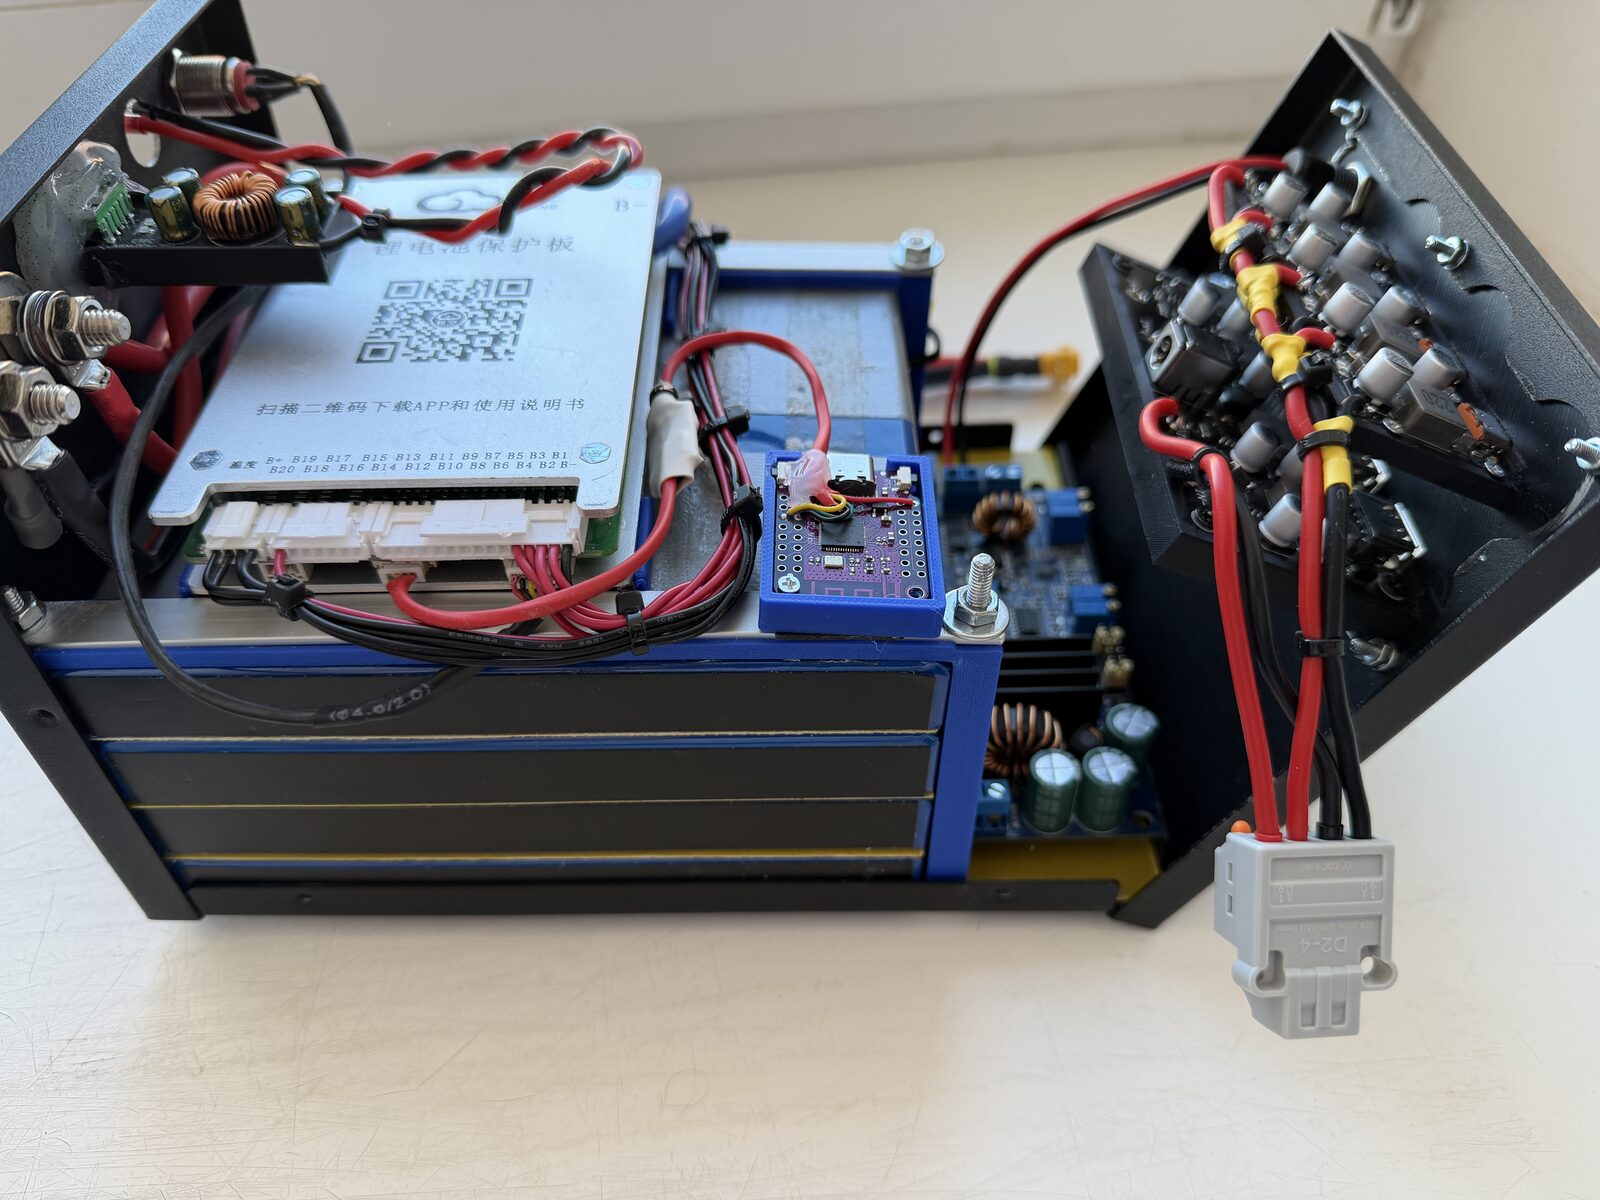
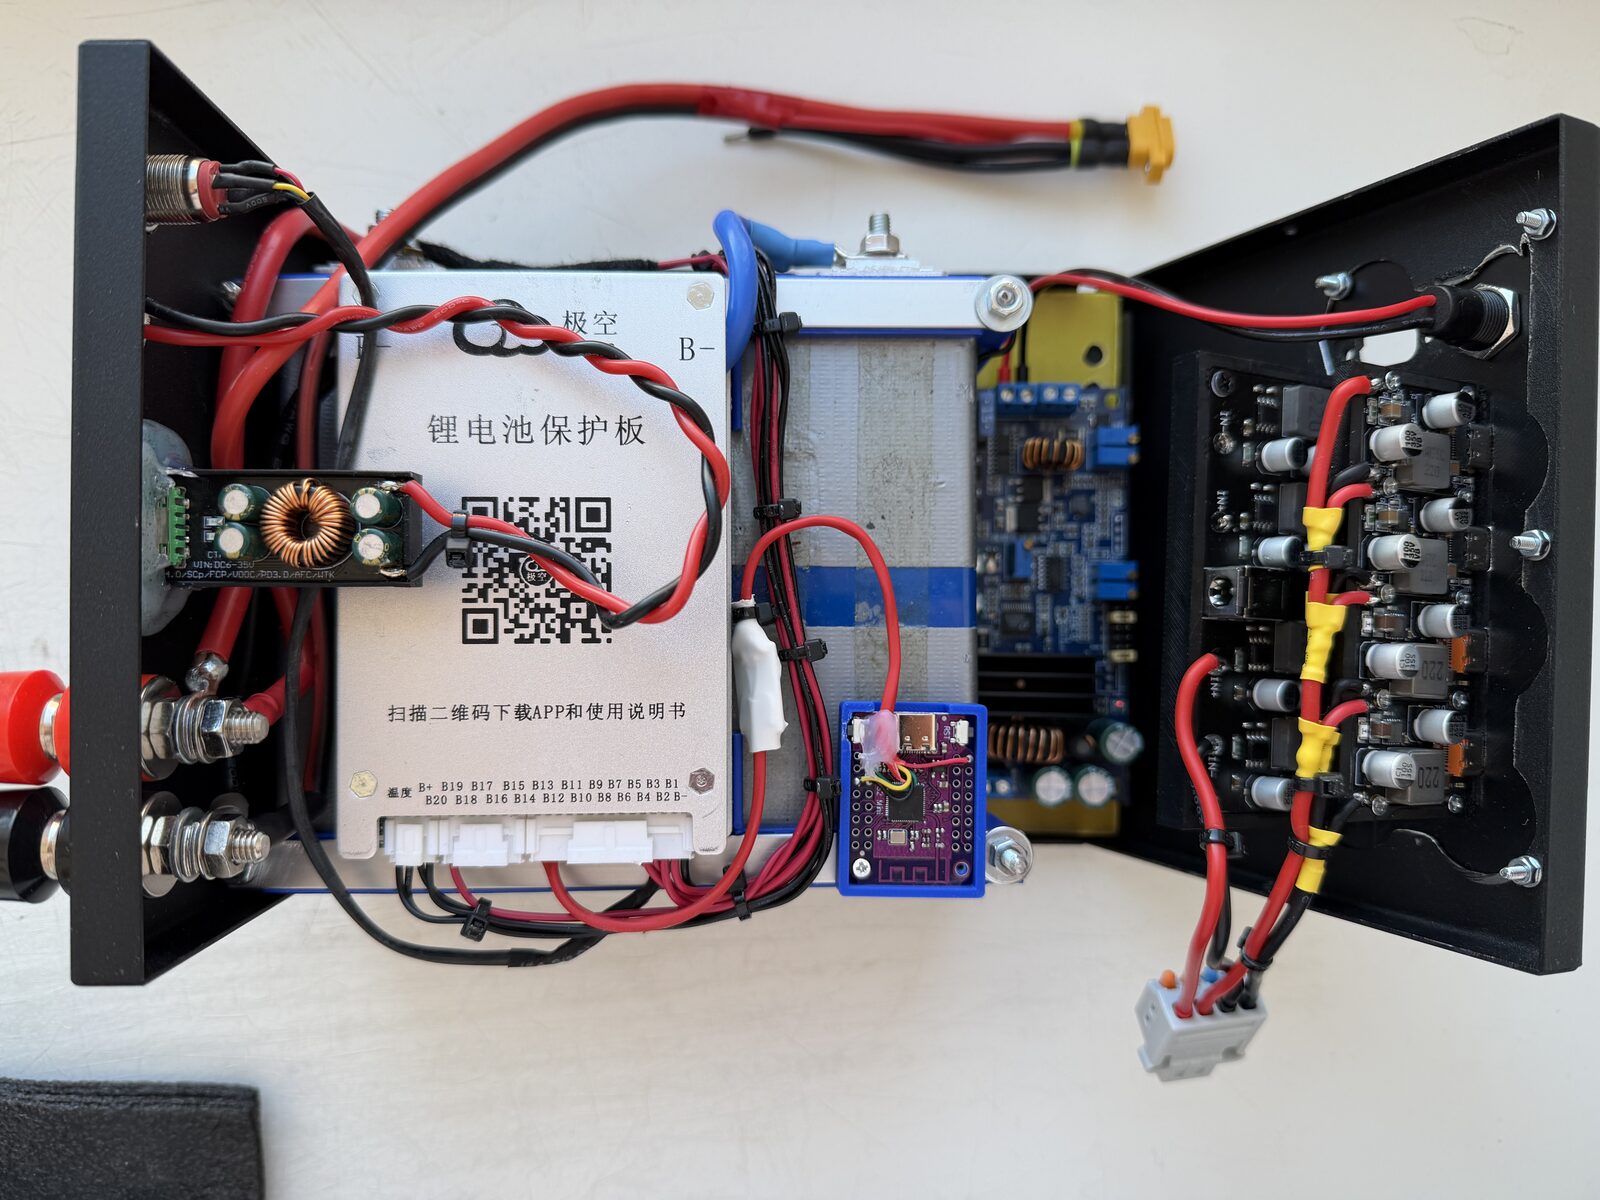
Now
Closed and on the desk, with the wireless charger on top (see the photos at the top).